Showing 37–48 of 49 results
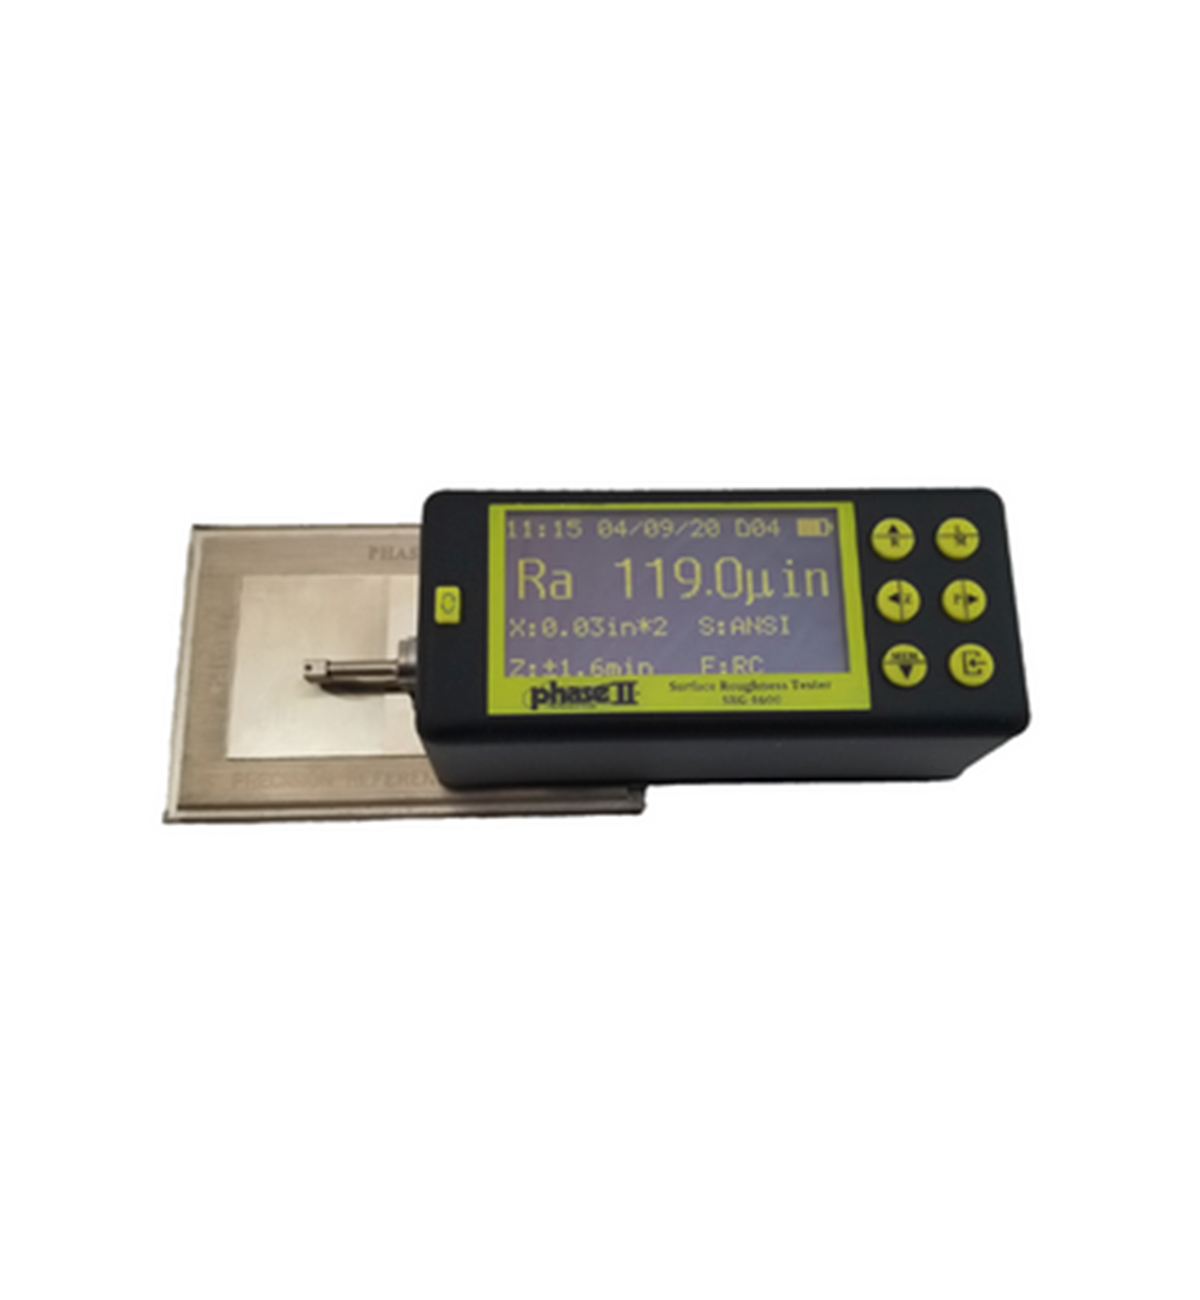
Devices designed to assess the texture and surface finish of parts and components.
- Measure parameters such as Ra, Rz, Rt, among others.
- Allow verification that finishes meet required technical specifications.
- Widely applied in machining, mold manufacturing, automotive, and aerospace industries.
Not sure which equipment fits your needs?
Consult with one of our specialists for personalized advice. We’ll help you compare options, understand capabilities, and make the best decision.
Talk to a product specialist.
Intuitive Effectiveness
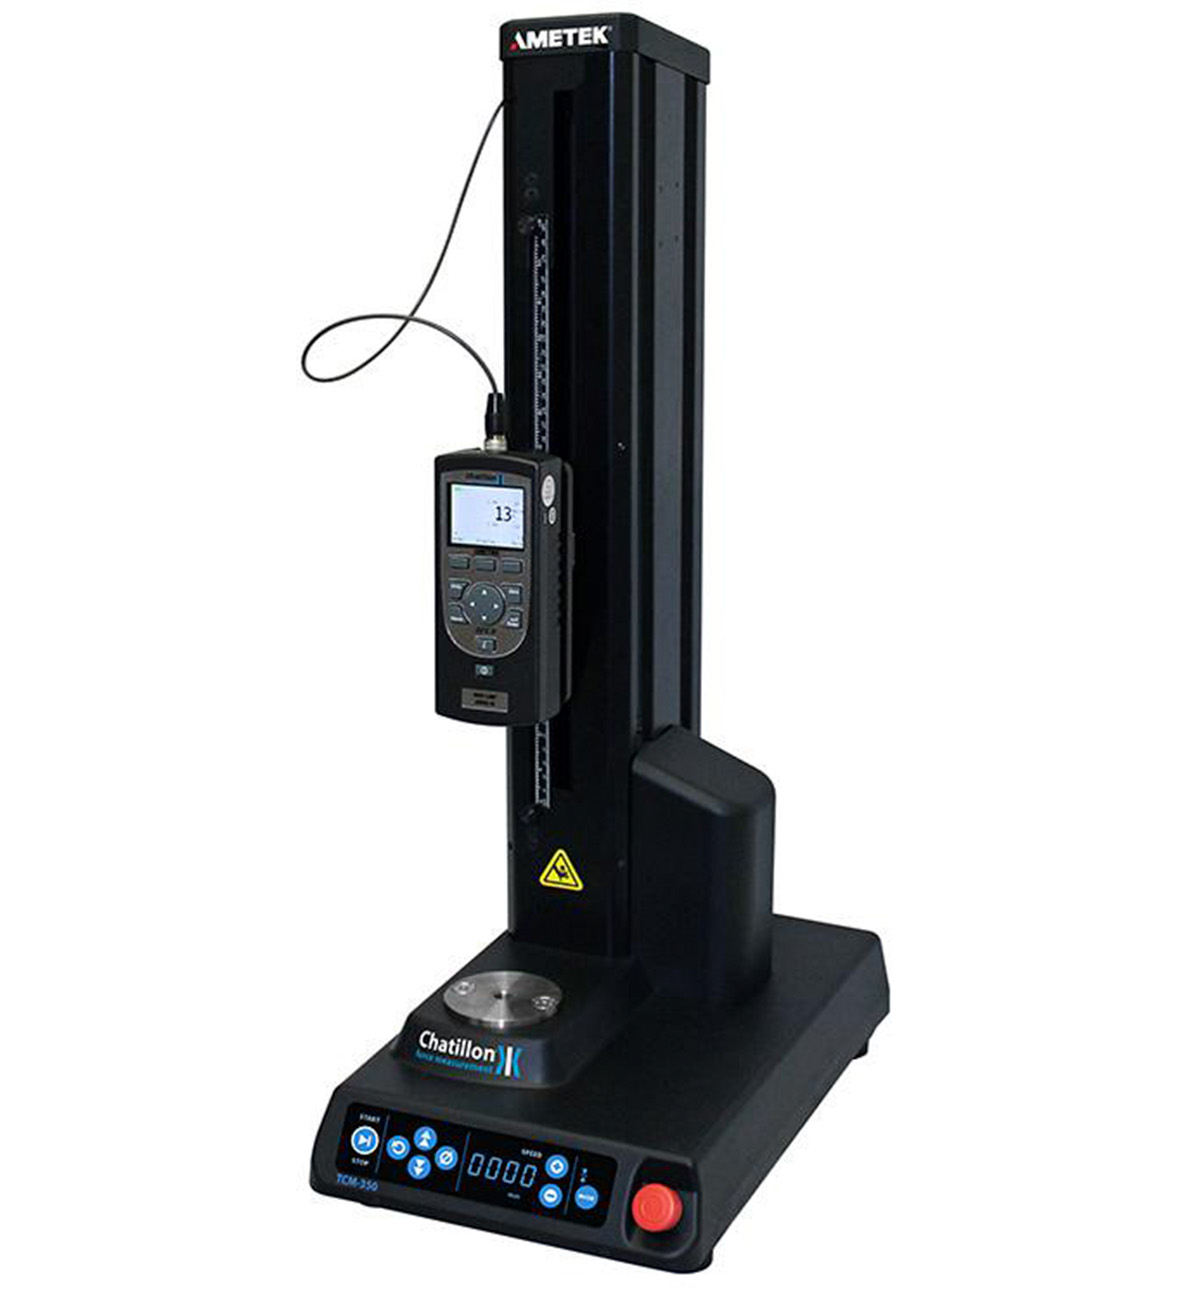
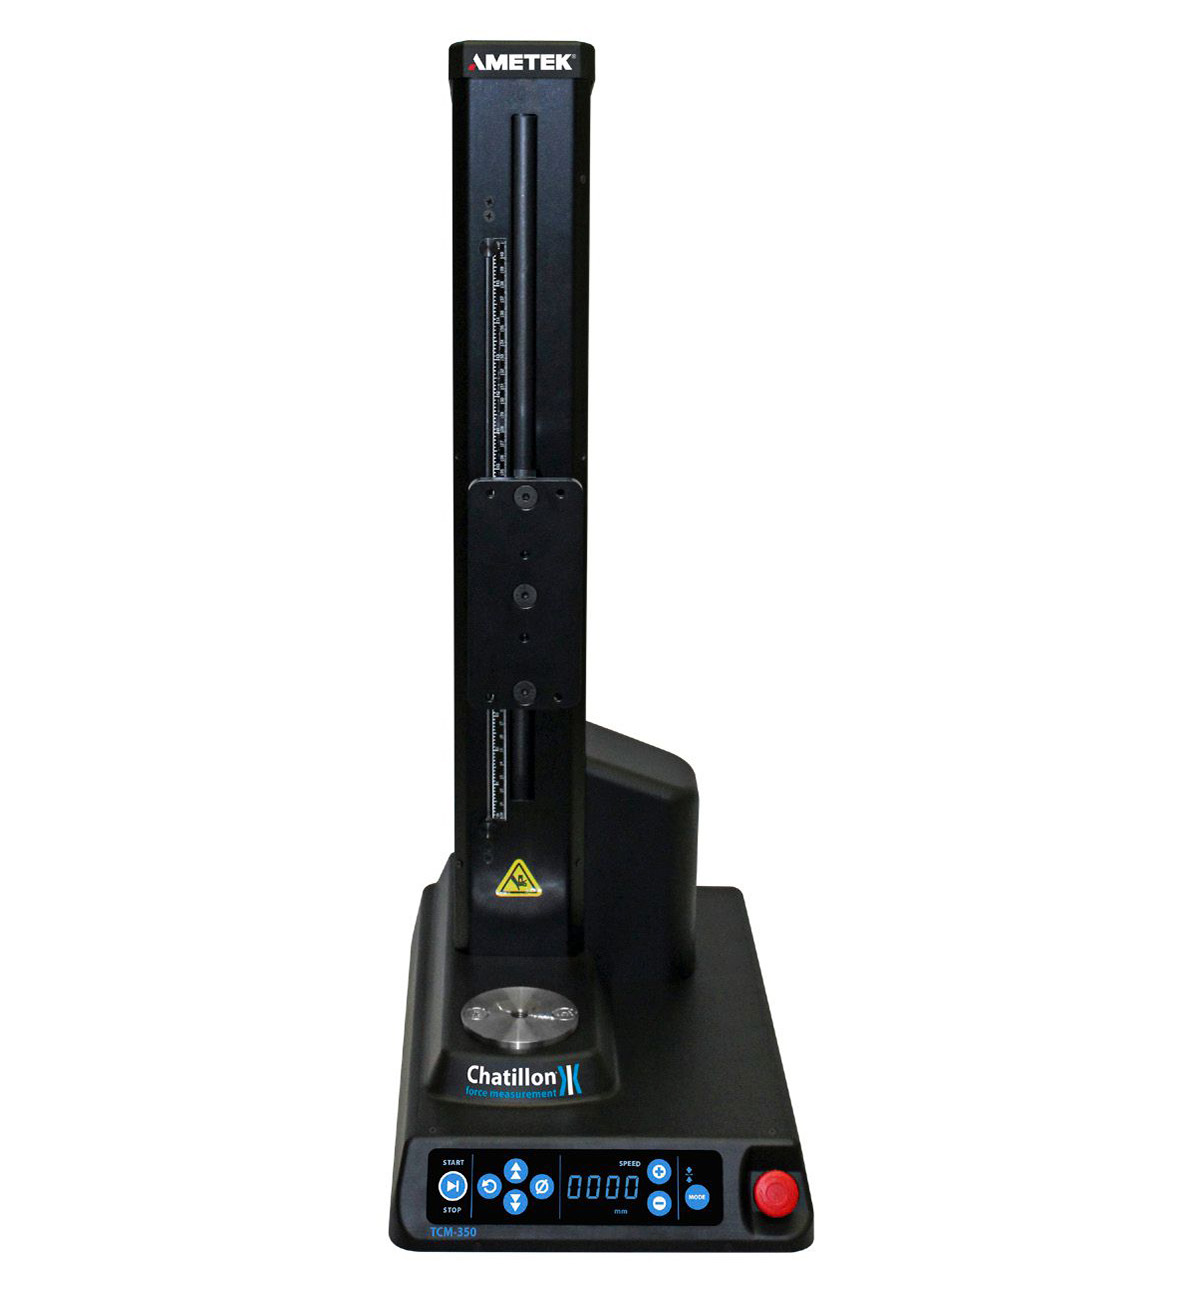
The motorized TCM Series from Chatillon offers fast and effective force testing at an affordable price.
The TCM Series features a high frame stiffness, light weight bench top design suitable for both production and laboratory environments.
Force ranges of 100 lbf (500 N) and 350 lbf (1500 N) are available in both 16 in (406 mm) and extended 32 in (812 mm) travel versions.
Select from Chatillon’s wide range of grips and fixtures to use the TCM Series for a wide variety of tests such as:
-
Tension
-
Compression
-
Bending
-
Peeling
-
Adhesion
-
Insertion and extraction
Texture and humidity analyzers are key tools for evaluating the physical and functional properties of materials and finished products, providing essential information on parameters such as firmness, cohesion, elasticity, water absorption, and retention capacity. These factors directly impact the quality, performance, and acceptance of the product in various industries.
At Beamar, we offer equipment from different brands and configurations, allowing for rapid, precise, and reproducible testing, tailored to the specific needs of each client.
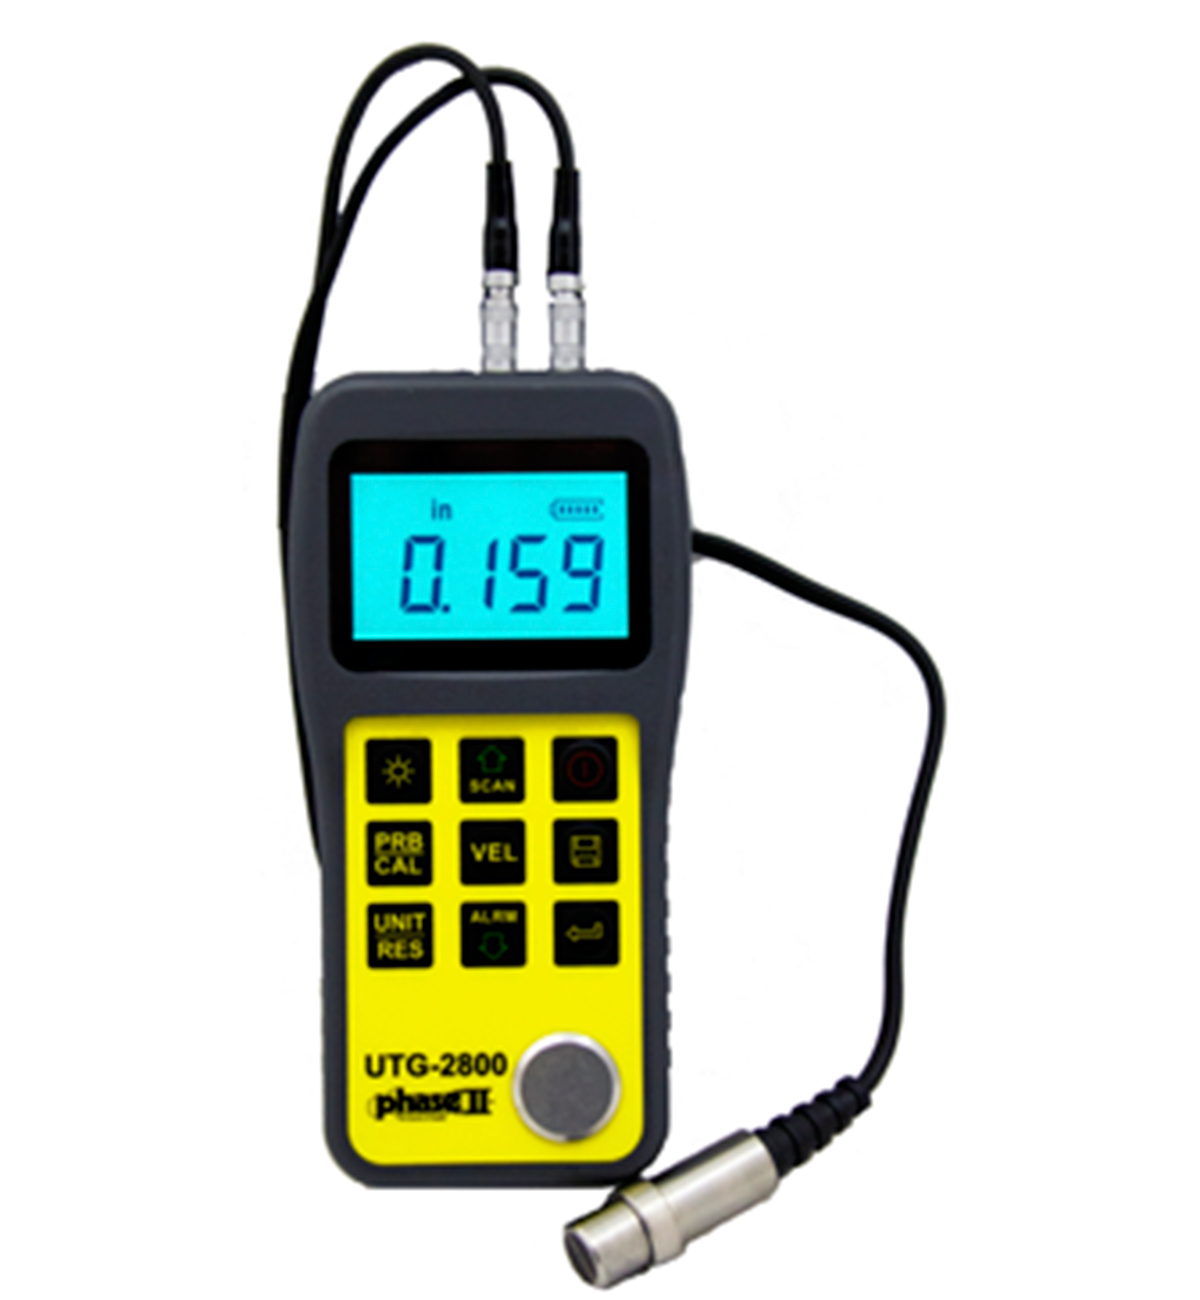
At Marllam, we offer coating thickness gauges with automatic substrate detection. These tools enable non-destructive measurements with second-level precision—a significant advantage for optimizing time, protecting your investments, and avoiding unnecessary losses.
Key applications for these instruments include:
- Rapid verification of coating thickness on automotive parts.
- Ensuring compliance with quality standards in industrial components.
- Insurance inspections that require exact data for adjustments or claims.
- Rigorous finish control on steel or aluminum during refinishing or repainting processes.
Not sure which equipment fits your needs?
Consult with one of our specialists for personalized advice. We’ll help you compare options, understand capabilities, and make the best decision.
Talk to a product specialist.
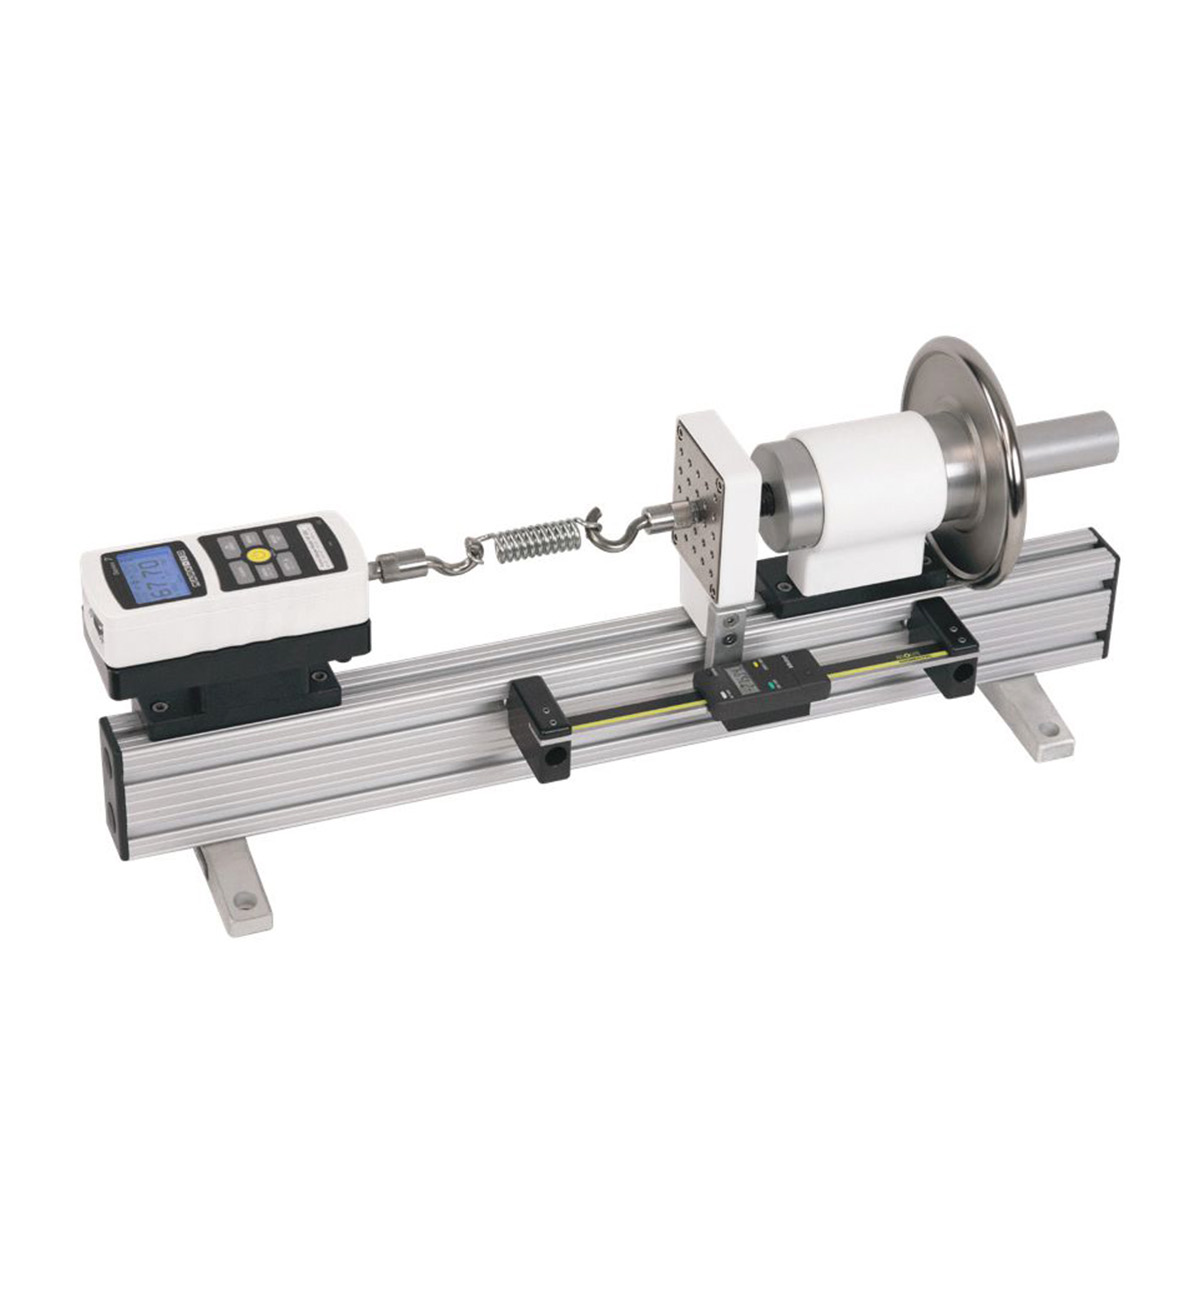
Devices designed to measure the torsion force applied to parts, screws, nuts, and assemblies.
- Ensure components meet assembly and safety specifications.
- Portable and laboratory versions, digital and analog.
- Applications in automotive, aerospace, machinery manufacturing, and assembly control.
Not sure which equipment fits your needs?
Consult with one of our specialists for personalized advice. We’ll help you compare options, understand capabilities, and make the best decision.
Talk to a product specialist.
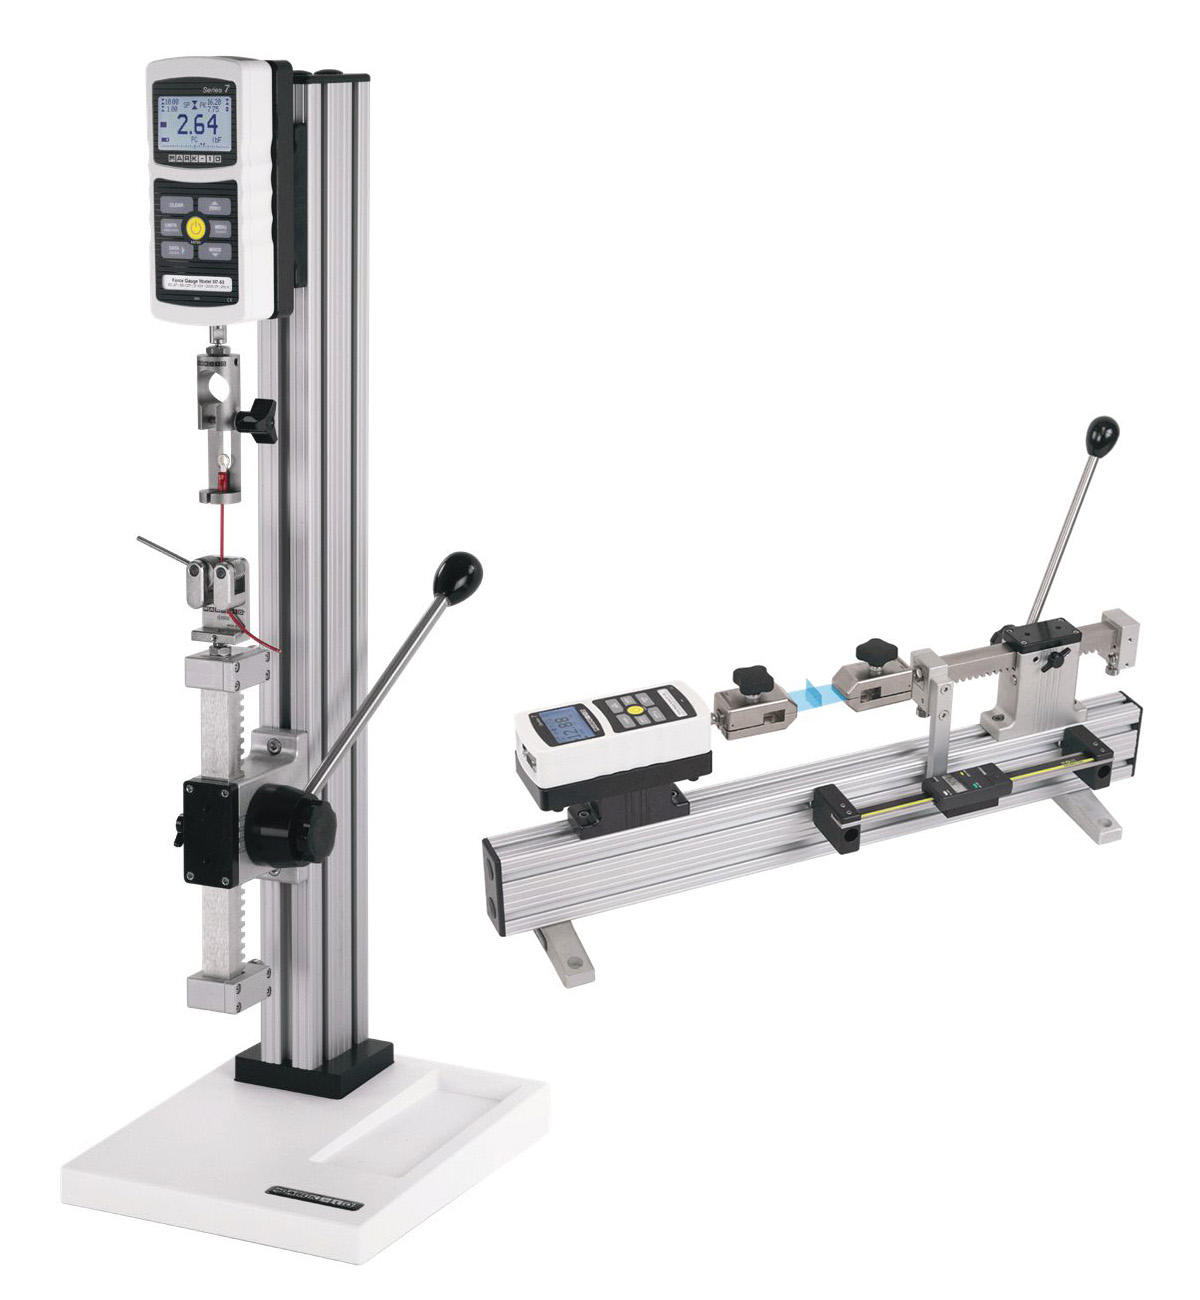
The lever operated TSA750 is ideal for quick-action testing of up to 750 lbf (3.75 kN) of tensile or compressive force. Made of rugged components, this test stand is durable enough for the factory floor, yet precise enough for laboratory environments. The loading lever can be positioned in 30° increments and the adjustable precision ground rack and pinion mechanism assures smooth, precise motion through 6 in. of travel.
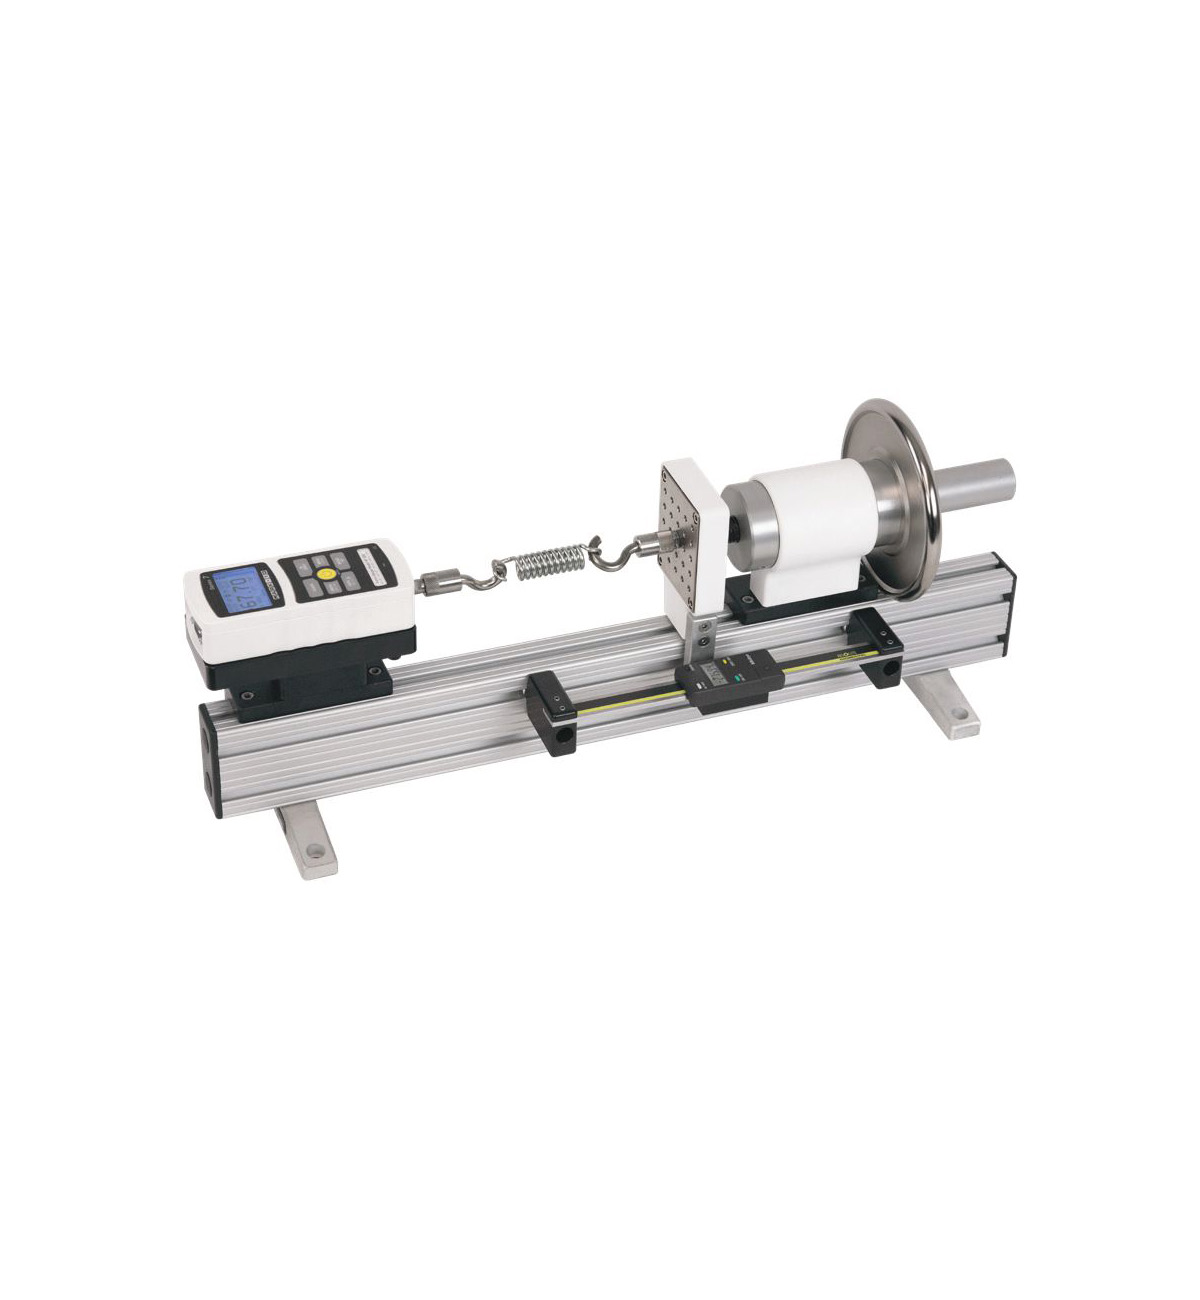
The test stand includes adjustable travel stops and a frictional low force brake. It is available in vertical and horizontal orientations. Use this test stand with Mark-10 force gauges and gripping fixtures to create a complete push/pull testing system.
The lever-operated TSB100 test stand is ideal for quick-action tensile testing and compression testing of up to 100 lbf (500 N) of force. Constructed of rugged components, this test stand is durable enough for the factory floor, yet precise enough for laboratory environments.
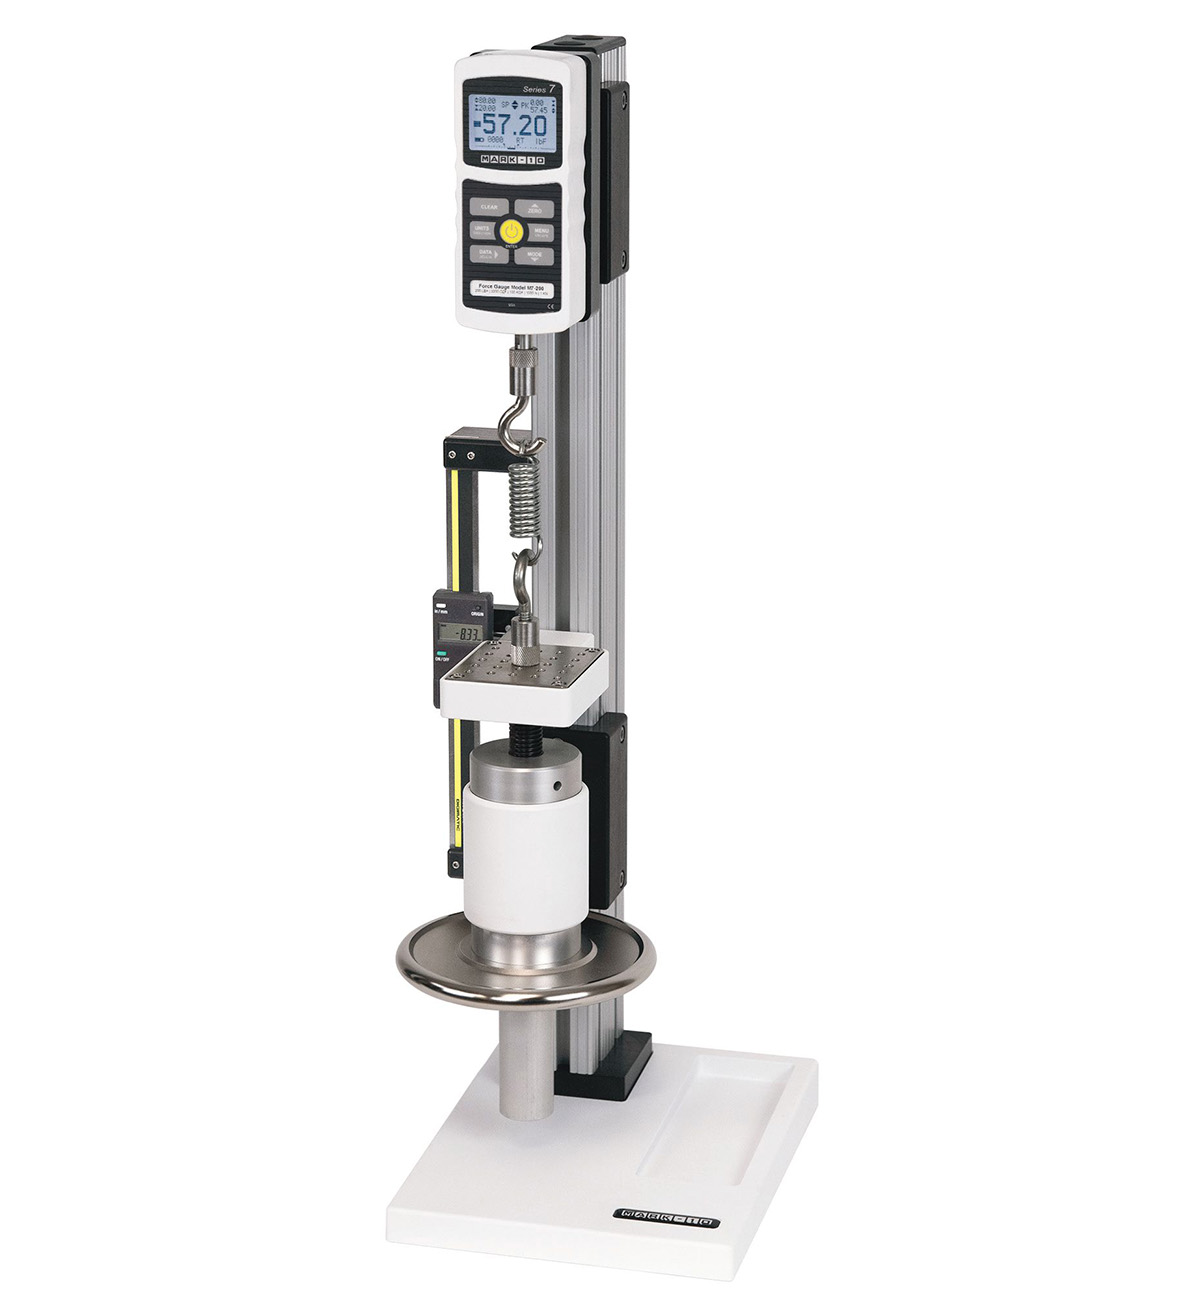
The TSC1000 test stand is ruggedly built for testing up to 1,000 lbf (5 kN) of compression or tension force. A large hand wheel requires little effort, even at high loads, and a precision Acme screw and nut ensures smooth operation over time. The stand includes a loading table with threaded holes for fixture or grip mounting and a solid metal base (TSC1000) contains a storage pocket and holes for bench mounting. Available in vertical and horizontal configurations.
The TSF test stand is ideal for spring testing, destructive testing, product integrity testing, and other applications requiring up to 1,000 lbf (5,000 N) of push or pull force. The stand features a large side mounted hand wheel requiring minimal user effort and a rigid 3” x 3” column. A removable steel loading surface with threaded holes for fixture and grip mounting adds flexibility for many testing applications, and a solid metal base (TSF) contains a storage pocket and holes for bench mounting. Available in vertical and horizontal orientations.
Vertical Floor Standing Optical Comparator – vf600
If your measuring requirements demand the use of a large screen vertical axis comparator, then look no further than the VF600. Ideal for the larger components found in the electronics, stamping, and extrusion industries, the VF600 is the ultimate in vertical axis optical comparators; a design based on years of knowledge in the manufacture of high performing optical comparators.
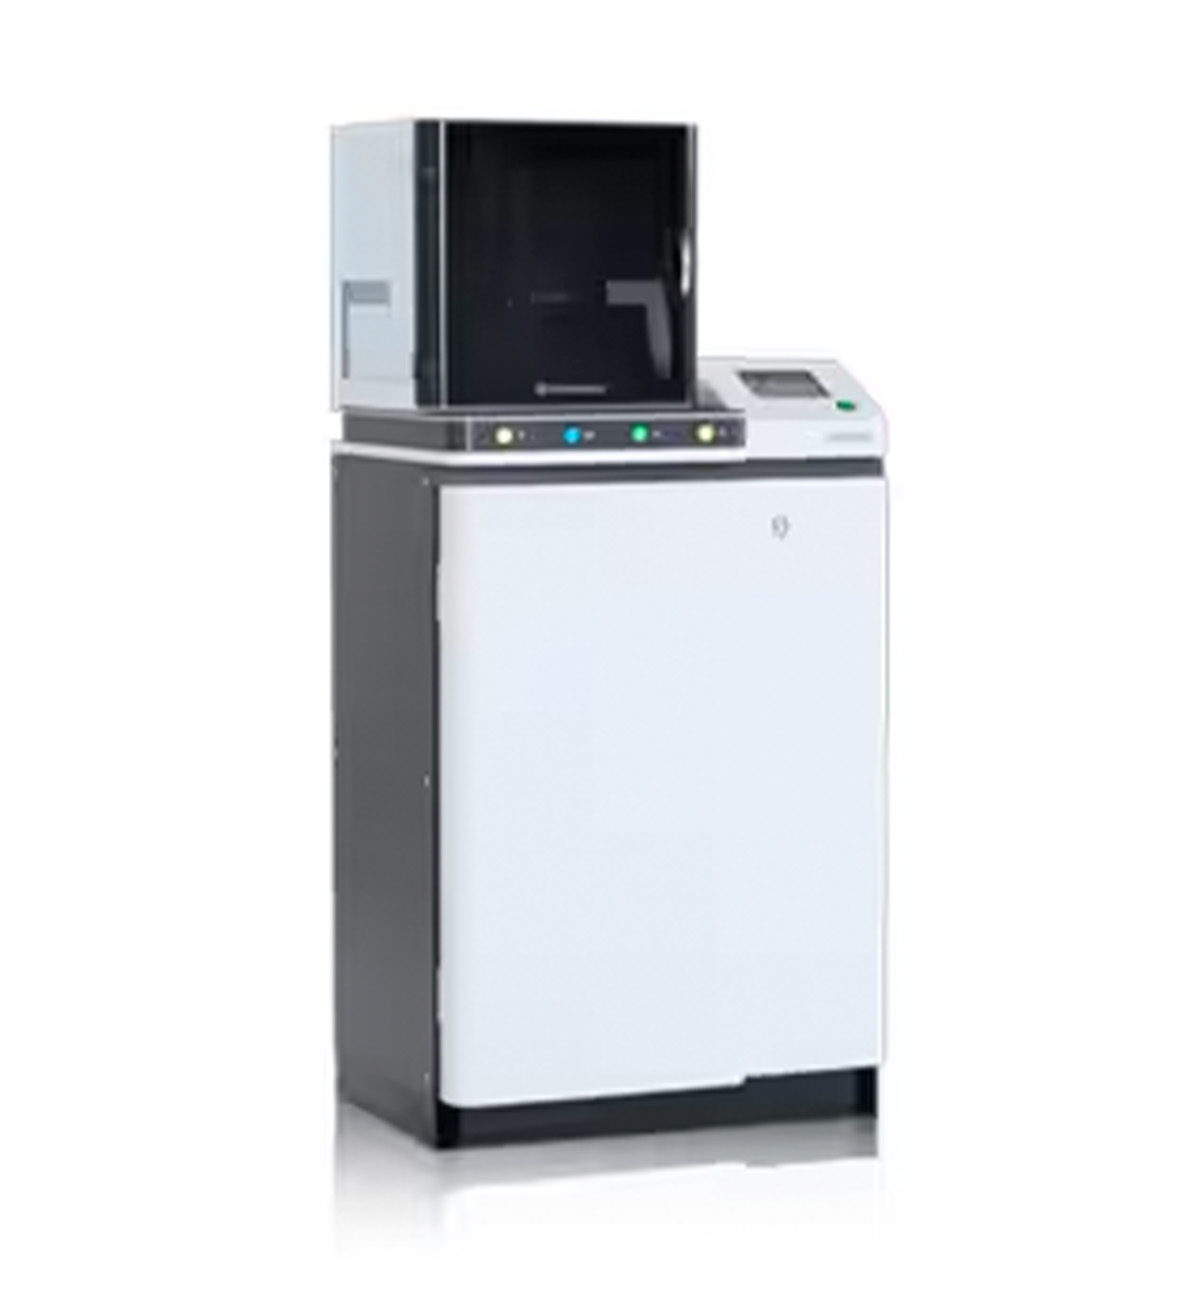
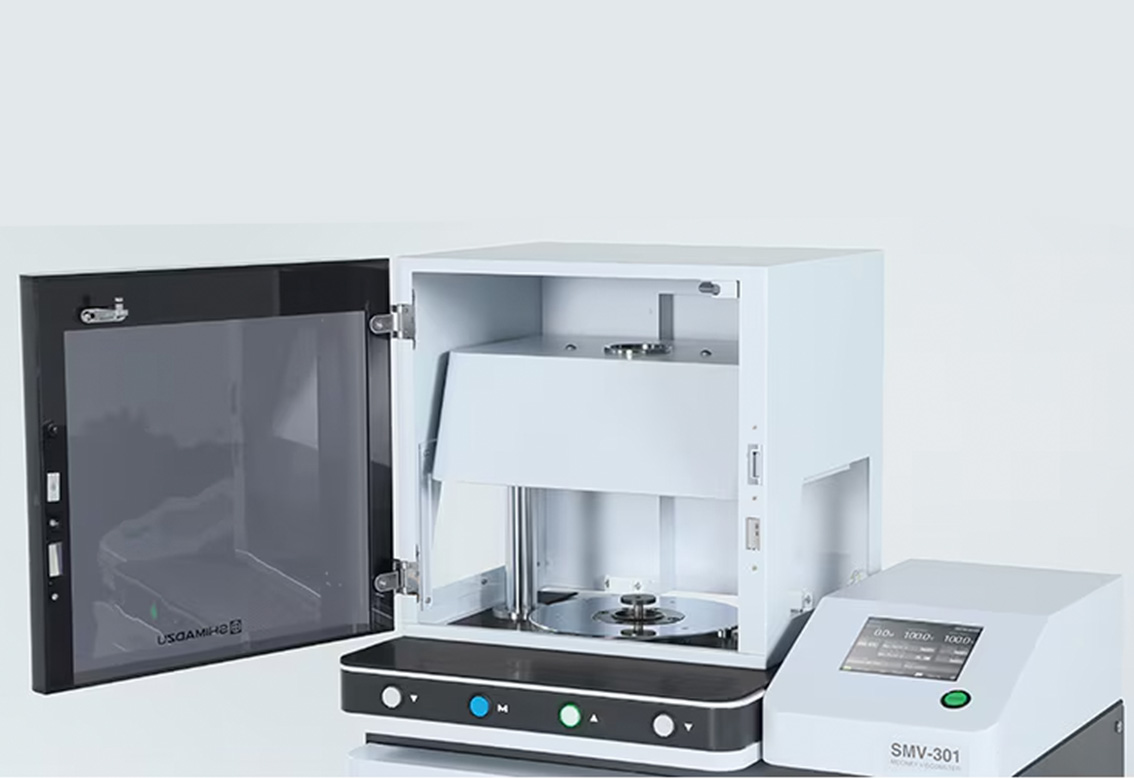
The SMV-301 / 301RT measures Mooney viscosity, scorch time, minimum Mooney viscosity, and other rubber characteristics in accordance with JIS, ISO, and ASTM test methods. Thanks to its excellent temperature recovery and ease of operation, it can also be used for stress-relaxation measurements or for tests involving variation of rotor speed.
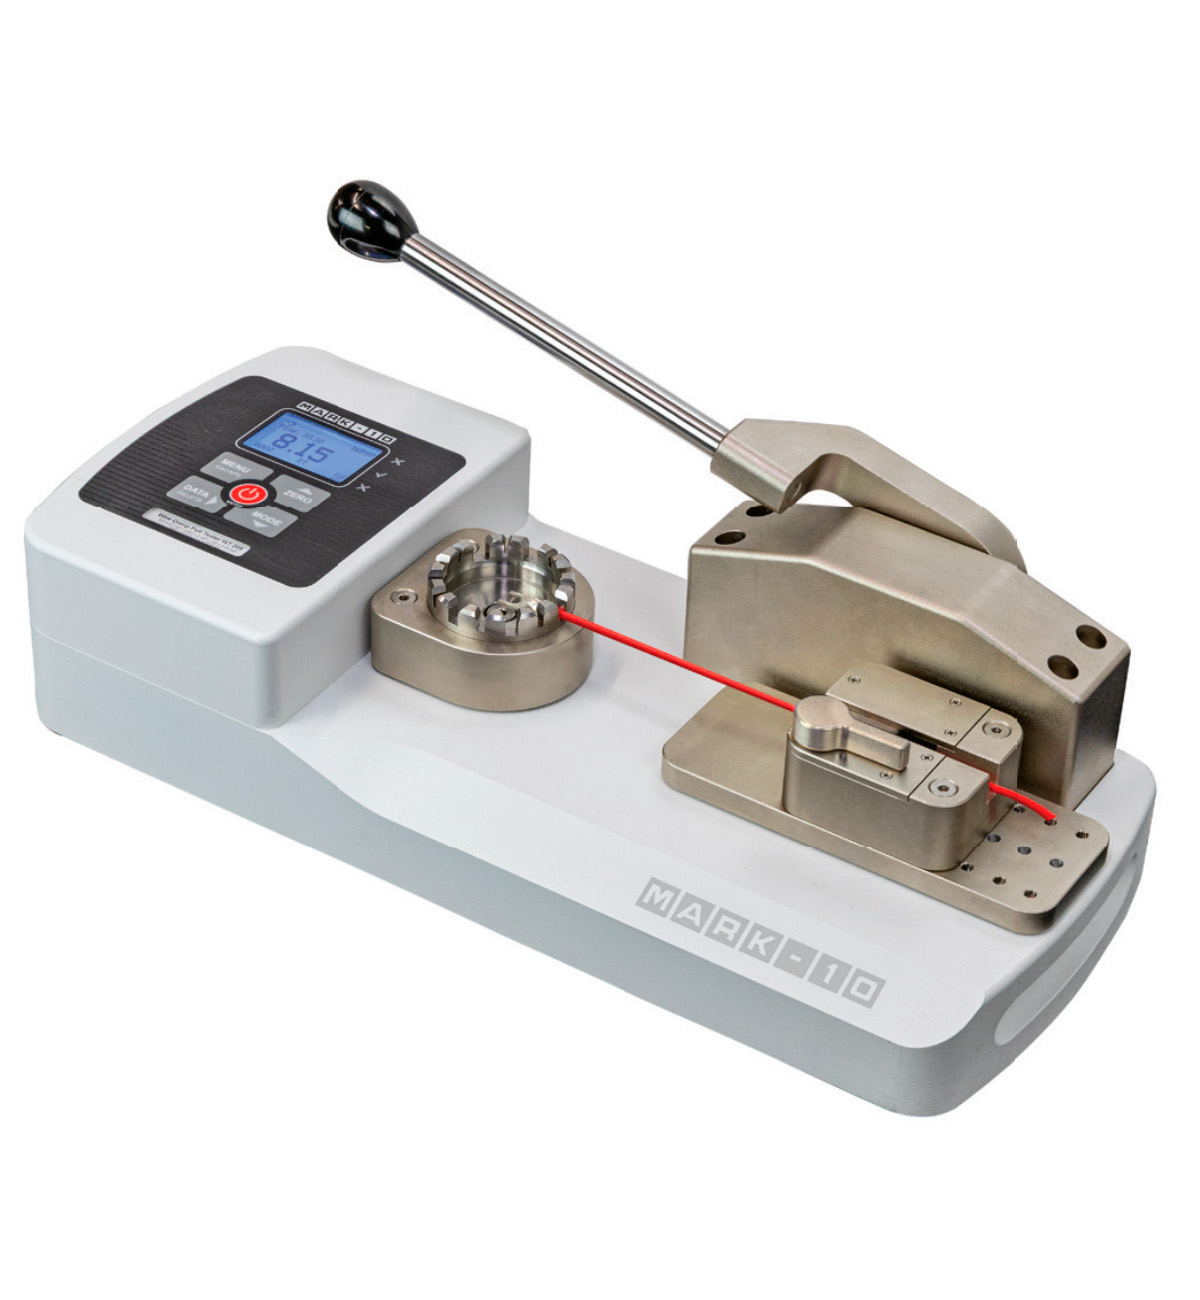
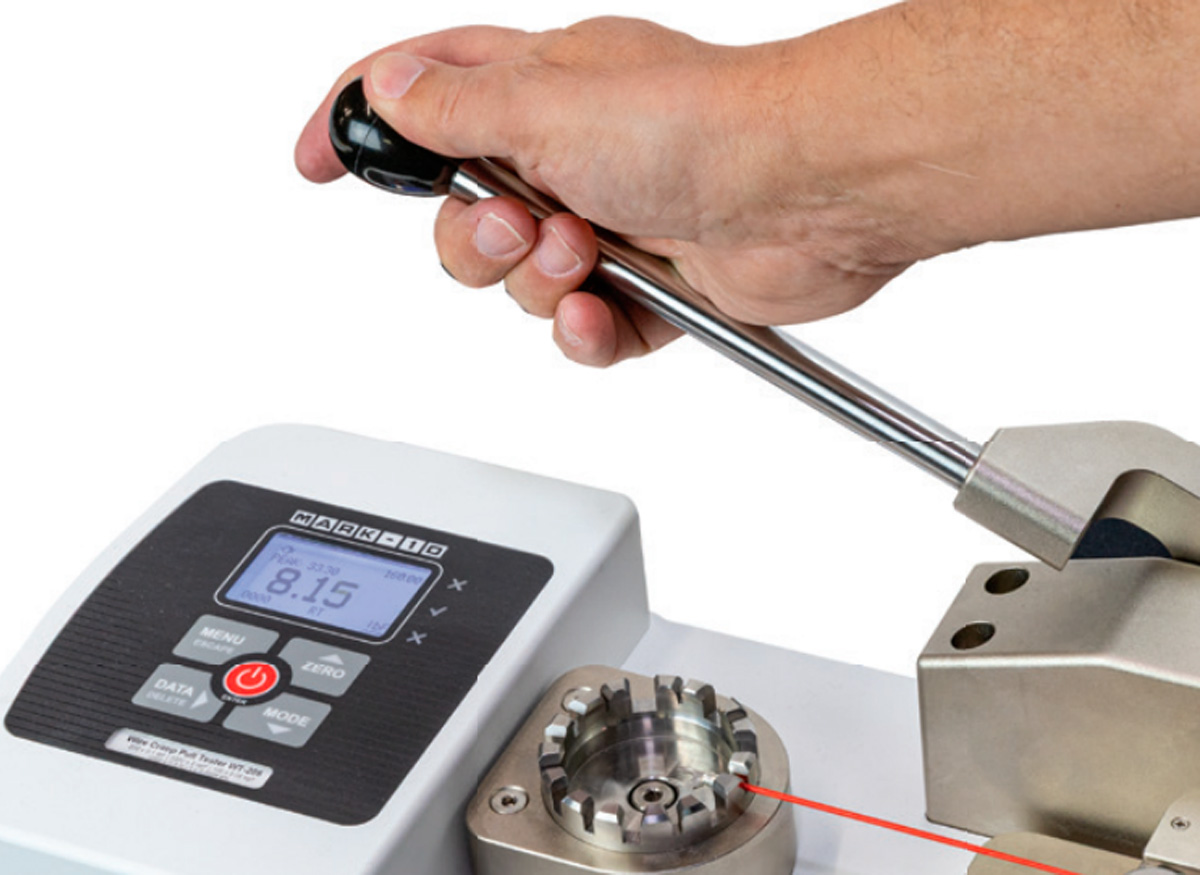
Measure wire crimp pull forces accurately and efficiently with the portable and customizable WT-205 tester. Easily apply up to 200 lbf (1,000 N) of force via an ergonomic lever. The tester’s standard adjustable terminal fixture contains multiple slots for diameters up to AWG 3 (0.25 in [6.3 mm]), while the self-tightening wedge grip securely clamps the free end of the cable.
A backlit graphic LCD displays real-time force, peak force, unit of measurement, and pass/fail indicators. Green and red pass/fail indicators may also be used. A load bar on the display shows when an overload is approaching.
Transfer data to a PC or other data collector via USB, RS-232, Mitutoyo (Digimatic), or analog outputs. The WT-205 stores up to 1,000 readings and calculates statistics. Upon sample break, the tester can automatically save and output the peak force and auto-zero in preparation for the next test, increasing testing efficiency.
Use free MESUR® Lite data acquisition software to tabulate continuous or single point data. Data stored in the tester’s memory can also be downloaded in bulk. One-click export to Excel allows for further data manipulation.
To accommodate a wide range of materials, optional and interchangeable alternative grips are available. Samples can be sent to Mark-10 for evaluation and recommendation prior to purchase.
